 Help Center Doctor
Fix Center
Fixes turn findings into changes. Every change goes through the same apply dialog, whether it comes from a finding, from find and replace, from a bulk action or from the link map. Fixes need the Pro or Business plan.
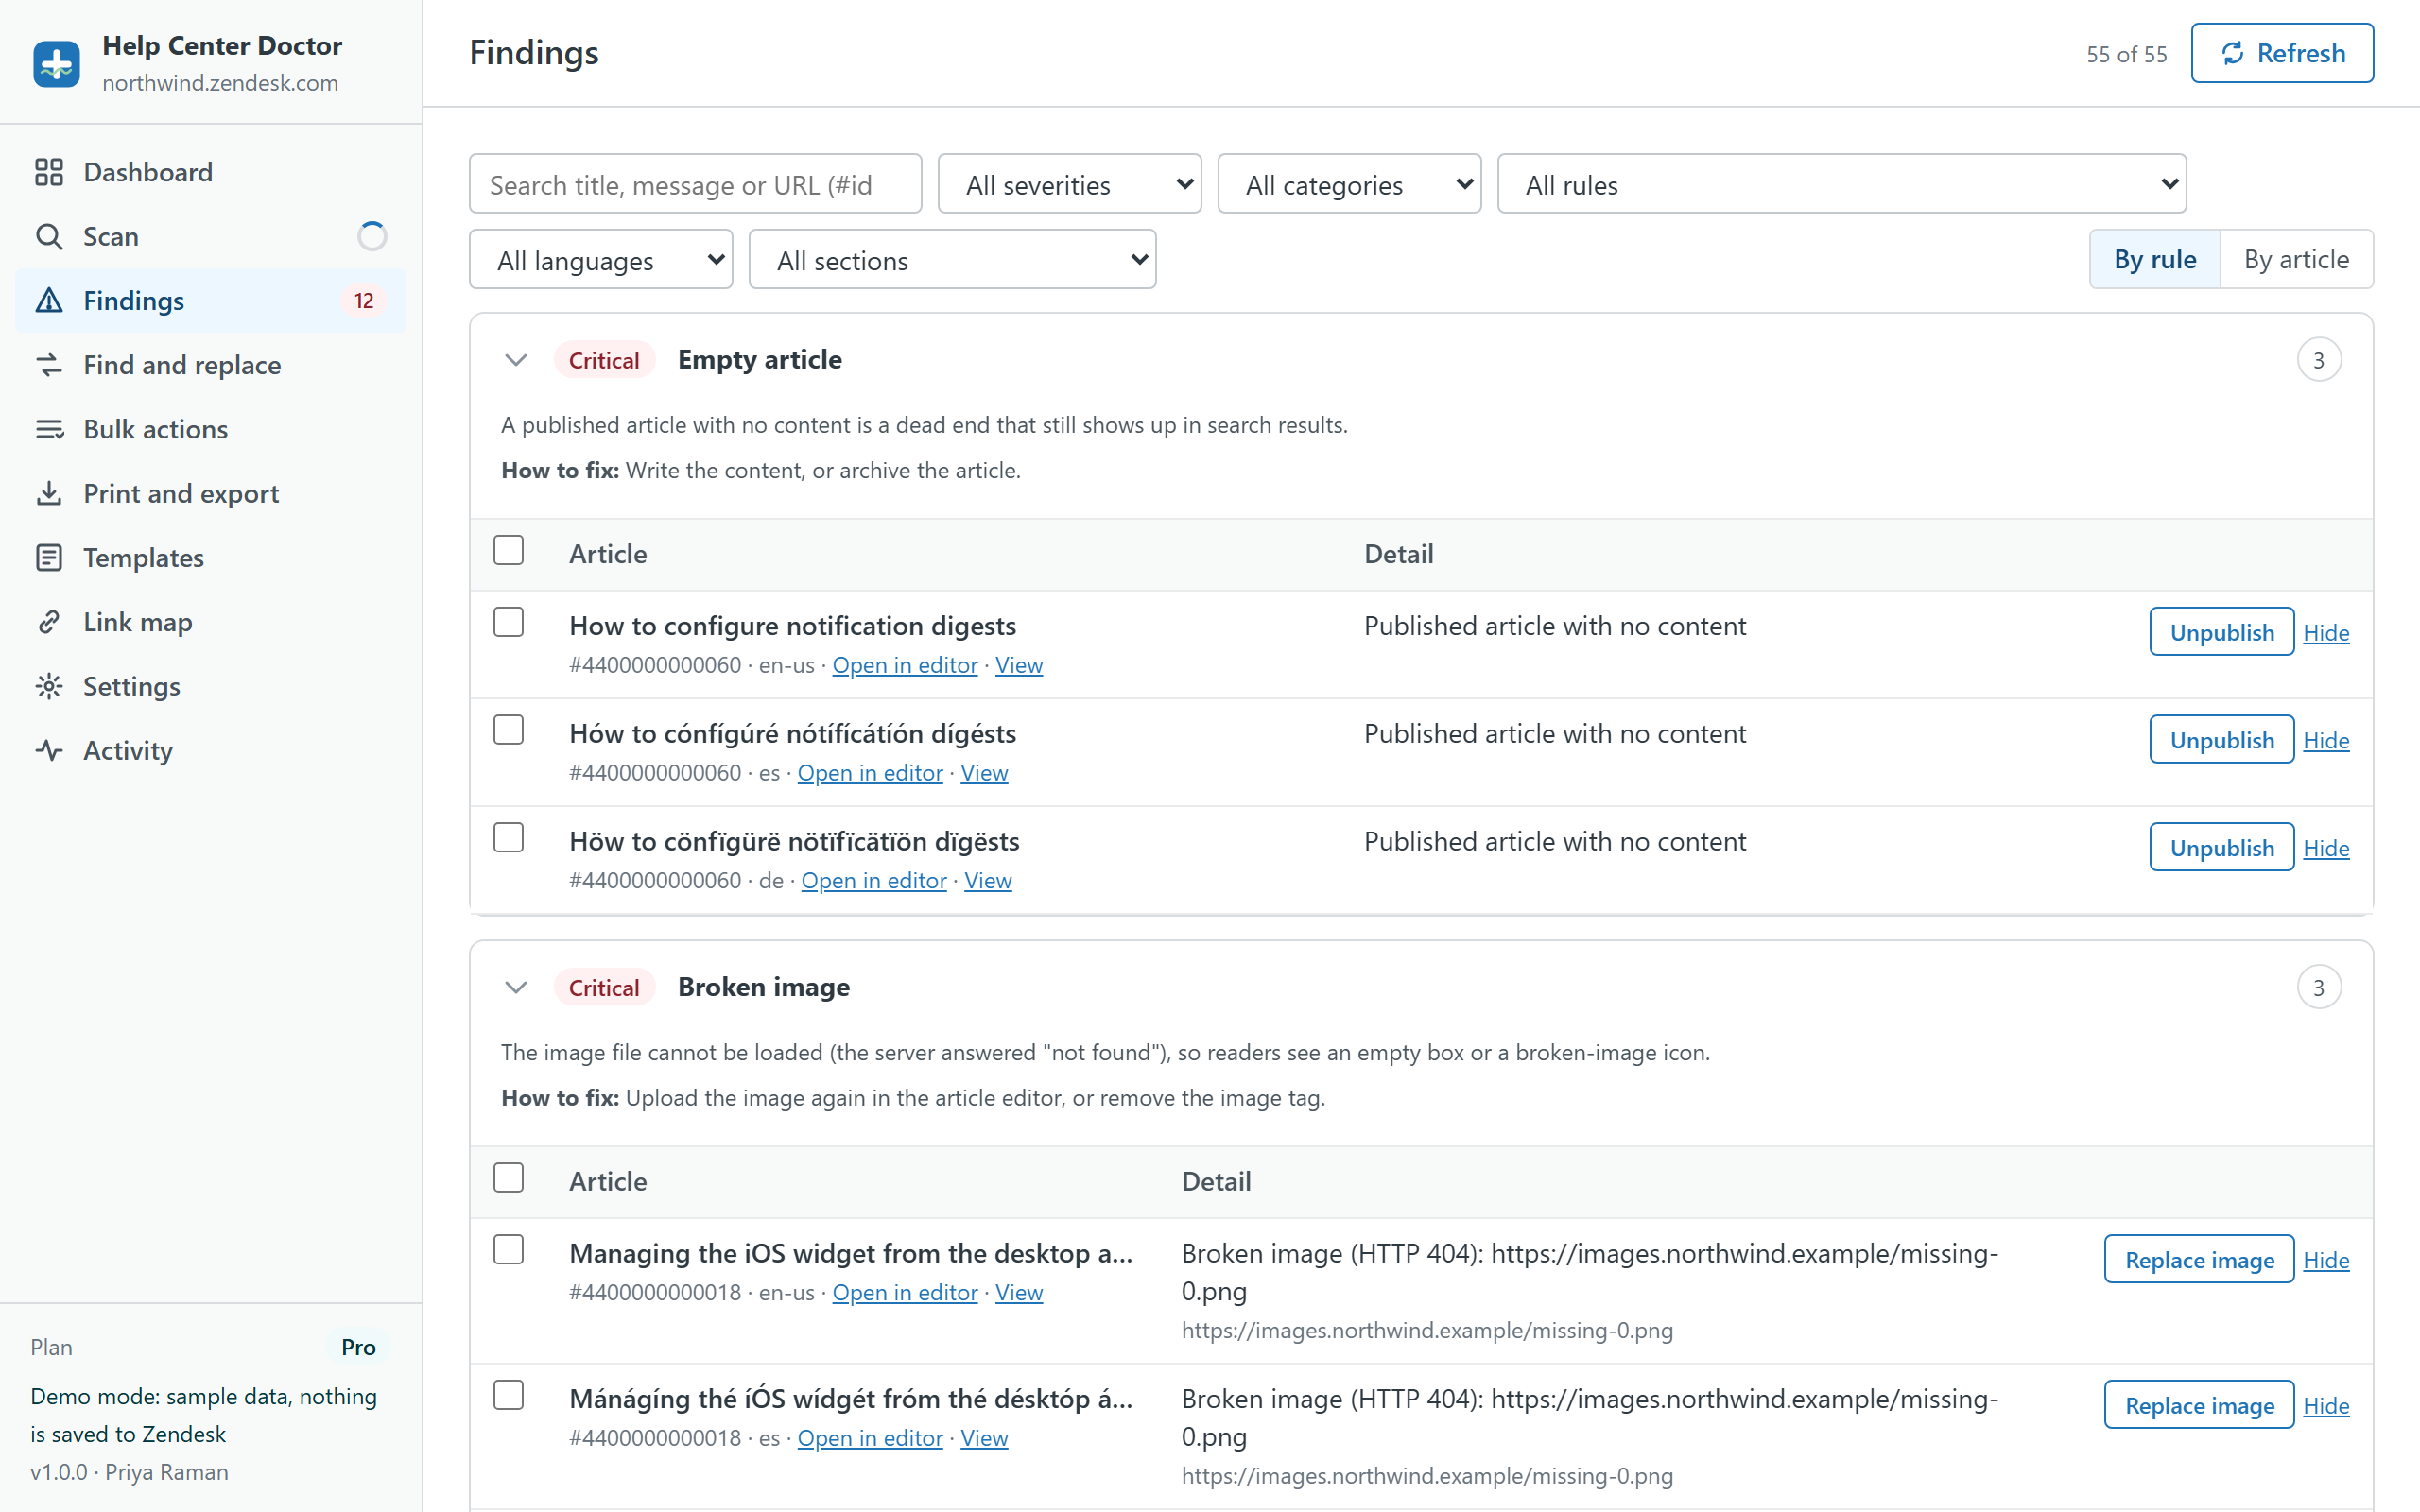
Available fixes
| Fix | Used for | Touches the body? |
|---|---|---|
| Replace link (with suggestions of similar titles) or remove the link and keep its text | Links to missing articles, sections or categories; broken external links | Yes |
| Fix anchor | Links to headings that do not exist | Yes |
| Update host | Links to a retired help center domain | Yes |
| Switch to https | Insecure http links and images | Yes |
| Replace image or remove the image | Broken images | Yes |
| Add alt text (one text for one or many images) | Images without alt text | Yes |
| Publish target / Publish translation | Links to drafts; unpublished translations of live articles | No |
| Unpromote | Stale promoted articles | No |
| Unpublish | Empty published articles | No |
| Archive | Old drafts | No (see below) |
| Mark as current | Outdated translations after you have reviewed them | No |
| Add labels | Articles without labels | No |
| Move to section | Articles in deleted sections | No |
Findings without a fix (stale articles, negative votes, short bodies, heading problems and so on) open the Guide editor instead.
Fixing many at once
Select findings that use the same kind of fix and click Fix selected. Fixes that need input (a new URL, alt text, labels, a section) apply the same input to every selected finding, so pick findings that share the same target. Several fixes on one article are merged into a single write.
The apply dialog
- The dialog lists every change, one row per article and language, with a word-level diff under Show changes. Untick anything you do not want.
- If any change rewrites a title or body, you are asked to confirm that the articles do not use content blocks, or that you accept them being converted (Guide Enterprise only). You can silence this in Settings if your help center does not use content blocks.
- If any change archives an article, you are asked to acknowledge that undo cannot restore it; you can restore it in Guide under Manage articles, Archived.
- Click Apply. A snapshot file of the affected articles is downloaded first, then the writes run one by one. Keep the tab open.
- The result shows how many changes were applied and how many failed. The app stops after five failures so a permissions problem does not burn through the batch; the snapshot covers the successful ones.
Snapshots
A snapshot is a JSON file with the previous title, body and status of every article about to change. It is saved to your downloads folder before anything is written. You can restore it any time from Activity with Restore from snapshot file, which writes the saved content back. Snapshots are your files; the app does not keep them anywhere else.
Undo
The Activity screen keeps the last 20 change sets of the session. Undo restores the previous content and settings of the affected articles, one write per article. If someone edited an article after the change, undo overwrites that edit with the snapshot content, so check first. The undo stack is lost when you close the app; snapshot files are permanent.
Read-only roles
If your Zendesk role cannot edit articles, the apply dialog says so and does not run. Ask a Guide admin to apply the change, or export your settings so they can reproduce your filters.